A Custom block is a feature that can not be created using the functionality available through basic pages or news articles. Custom blocks are items such as paragraph Accordions, Content Rotators, Image Rotators, or iframe embeds.
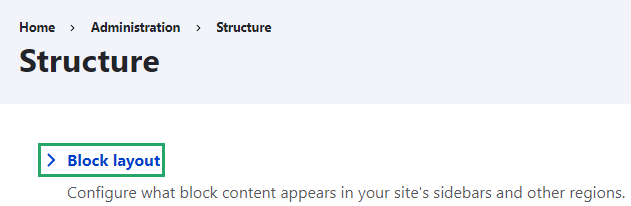
A Custom block can be added as a unique feature on a specific page or as repeatable content that shows on multiple pages. The first step in adding a Custom block is to place the block on a page.
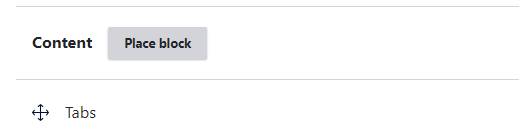
Scroll to the Content section on the page and click on the Place Block button.

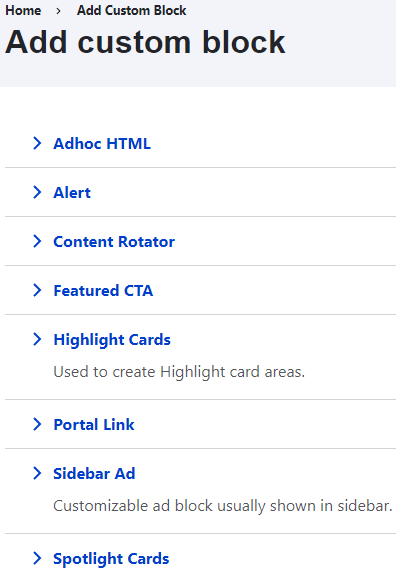
On the Add Custom Block page, select the type of block you would like to add. This will very based on the blocks available for your site.
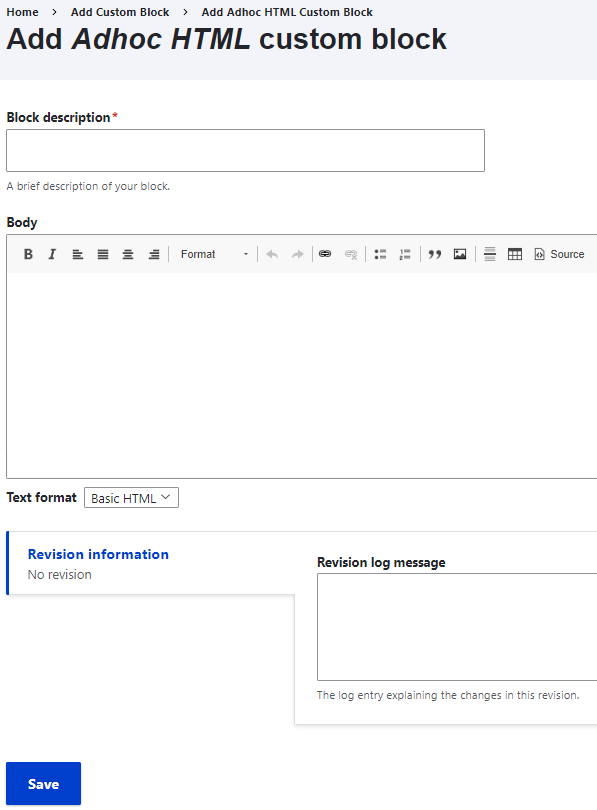
Give the Block a short description, scroll to the bottom of the page and click Save.
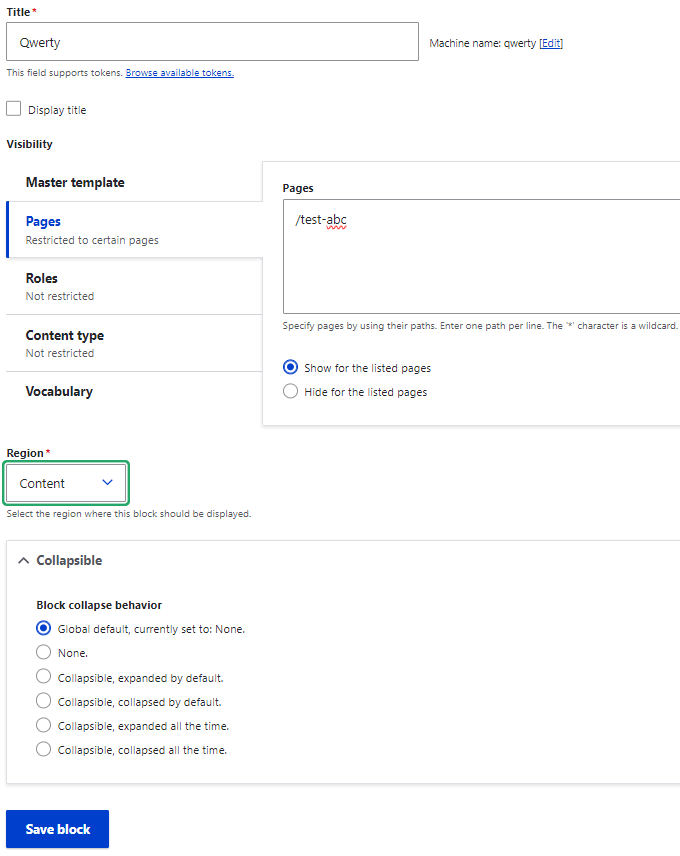
Click on the Pages tab. In the empty field, type in the relative URL for the internal page where you would like to place the Custom block. You can add multiple URLs if you want this block to appear on multiple pages of your site.
In the Region section, select Content to designate that you want this block to appear in the main content section of the page you entered.
Click on Save Block.
You have created a blank custom block and placed it on a page. The next step is to add content to the custom block.
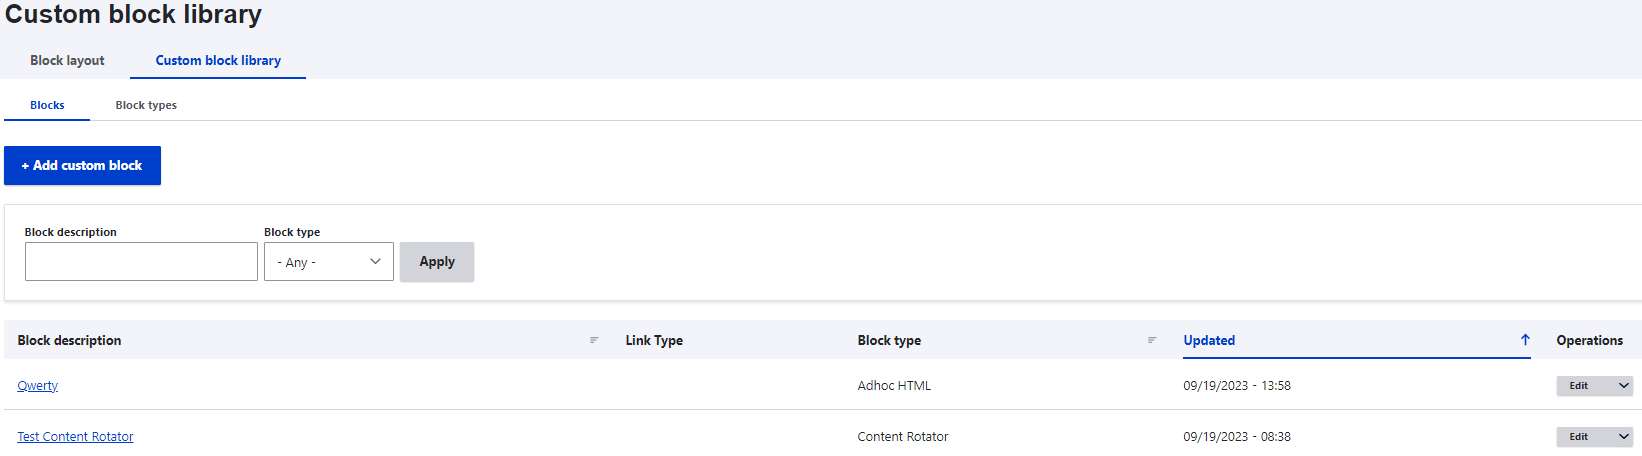
- Go to Structure > Block Library > Custom Block Library.
- Find the name of the Custom block you created and click Edit.
- On the Edit page, fill in the fields that you want to display on the pages you previously designated. The available fields will vary depending on the type of block you are adding.
- Click Save when you are done adding content to the custom block.
Navigate to the URL where you chose which page would contain the block (step 6).
Verify that the block contains all the information you intended. If necessary, you can Edit the content of the custom block.

- Hover in the top, right corner of that block section. You will see the Edit icon.
- Click on the Edit icon and then click on Edit.
- Make any changes to the custom block and Save.